Showing posts with label Bister. Show all posts

Saturday, 14 July 2018

Dream, Wish, Create a Beautiful World

This lovely image of a young girl (Victorian Photographs Rice Paper) really called to me and inspired me to make this piece. To me she portrayed a young girl that had experienced in her life far more than any child should.  Alone she would dream and wish for a better world. Her creativity would enable her to escape from the trauma and open the door to a world full of beauty.
I know that many can testify that using imagination and creativity really does take them to a happy place and can increase wellbeing. Sorry, maybe a bit heavy? I hope that you like the ‘beautiful world’ that I have created.
I first collected together lots of elements from my stash; a small wooden pallet (15cm square from Art-C), a thick greyboard panel with frame (13.5cm X 5cm, 6cm X 2cm centre, from Tando Creative) plus smaller panel, silicone moulds to create flowers and fern, MDF Heart Keyplate, Penny Washer and Heart Flower (Powertex), scraps cotton fabric and lace.
I created the flowers and ferns using silicone moulds and Stone Art Clay. Stone Art was mixed approx. 50:50 with Ivory Powertex plus a little Transparent Powertex. Ivory Poweretex was also used to coat the inner greyboard pieces.
The wooden pallet and remaining greyboard and MDF pieces were coated with a leftovers mix of Powertex (mainly Lead and Ivory). I keep any leftover Powertex in recycled little takeaway sauce pots (plastic with fully airtight lids). My mix gave a lovely warm grey colour.
I spread Easy Structure Paste across the centre of the pallet and then spritzed with Green Bister.
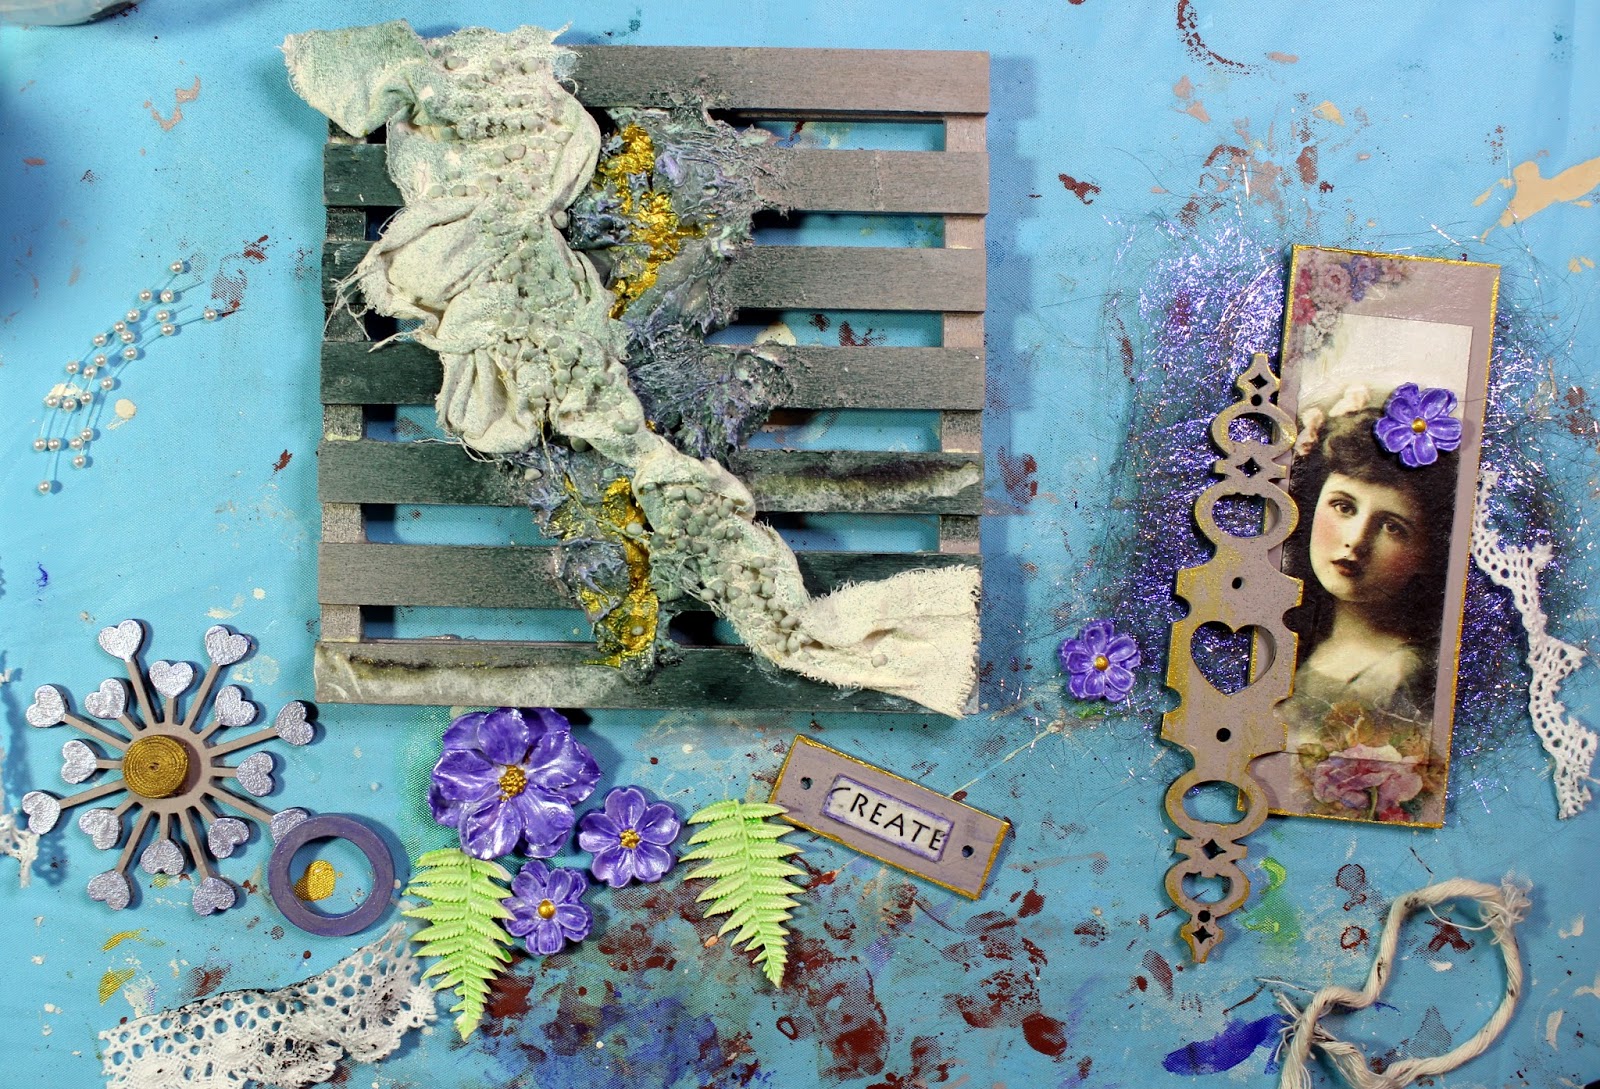
The rice paper images were applied to the Ivory Powertex coated panels using Easy Coat Mat Medium. Note: the sentiment is actually snipped from the ‘Creative Paper’ branding down the side of the paper. I also used some small leftover snips from a floral paper.
Cotton fabric was treated with Ivory Powertex and draped diagonally across the middle. More texture was added using 3D Sand & Balls.
The flowers, ferns, Heart Flower and Penny Washer were coloured with Acrylic Inks; Palm Leaf, Viola, Viola Metallic and Golden Metallic. A little gold colour was also applied to the edges of the keyplate and image panels, plus drizzled onto the texture paste. The fabric was spritzed with a little Green Bister.
A strip of thin fabric braid was treated with Powertex, coiled tightly into a spiral, and added to the MDF flower centre (coloured with gold ink when dry). A sheet of Angelina fibre was created by ironing heat fusible sparkly fibres between sheets of baking parchment. I collected together a few snips of lace plus some Powercotton.
Next I put it all together. I hung a small metal ‘wish’ charm from the base.
I used Easy Structure Paste through the Duo Arty Quotes Mini  Stencil to add the ‘Dream’ sentiment.
More Acrylic Ink colour was dry brushed over textured areas.
I love the new Acrylic Inks. The fluid formula enables you to drizzle areas with intense colour too.
I was really pleased with my ‘Dream, Create, Wish’ mini artwork. I think that I might just have to keep this one for me.
Off to get busy as I have so many ideas. I will share more soon. Hugs all xxx.


Monday, 26 March 2018

Medieval Chalice created with Powertex


I had fun creating a medieval chalice from an old glass that I have had for years. If you look closely it is actually made from a recycle wine bottle cut in half. The old bottle base is cut off and stuck to the bottle pouring top. The upturned bottle therefore making a new glass. I didn’t make it myself but it was a present from my ex’s daughter and has sentimental value. Now I have a super chalice to fill with cider and enjoy my drink along with good memories.

I wanted to keep the rim of the glass clean as I intend to use it as a drinking glass. I can clean the inside properly and around the rim etc. after use. The outer decoration will be ok with rinsing but obviously will be washed with more care.
For those that of not heard of Powertex – it is a non-toxic environmentally friendly fabric hardener that can be used to treat natural fibres (cotton, wool, silk, wood, MDF etc.) and create items that are weatherproof.
I first stamped some tissue paper (recycled packaging) with Versamark Ink and heat embossed the script image (Butterfly Poppy Collage set from Chocolate Baroque) with metallic gold embossing powder. I also collected some MDF embellishments ready for decorating. The Ankh is from the Pyramid and Ank Trio set, the hares and small cross from the Mini Hieroglyphs set.
As I wanted to keep the glass for functional use I didn’t want to completely cover it with texture and wanted to keep the stem area comfortable to hold. I first painted a band of black ‘all surfaces’ weatherproof glitter paint (Black Diamonds Crystal Glitter) onto the glass to add some interest and texture which will show through the background areas that I wanted to keep fairly smooth. The gold paint that you can see on the base was done some years ago with glass paints – I covered this up in later steps.
Next I tore areas of the script paper and applied them over the glass stem and bowl using Easycoat Mat Decoupage Medium. Tip: I used a water pen to draw around the pieces that I wanted, making it easy to tear shapes in a more controlled way. I sprayed with a little Green Bister just to blend in a little (dabbing off excess dribbles) where the white tissue paper was a little obvious.
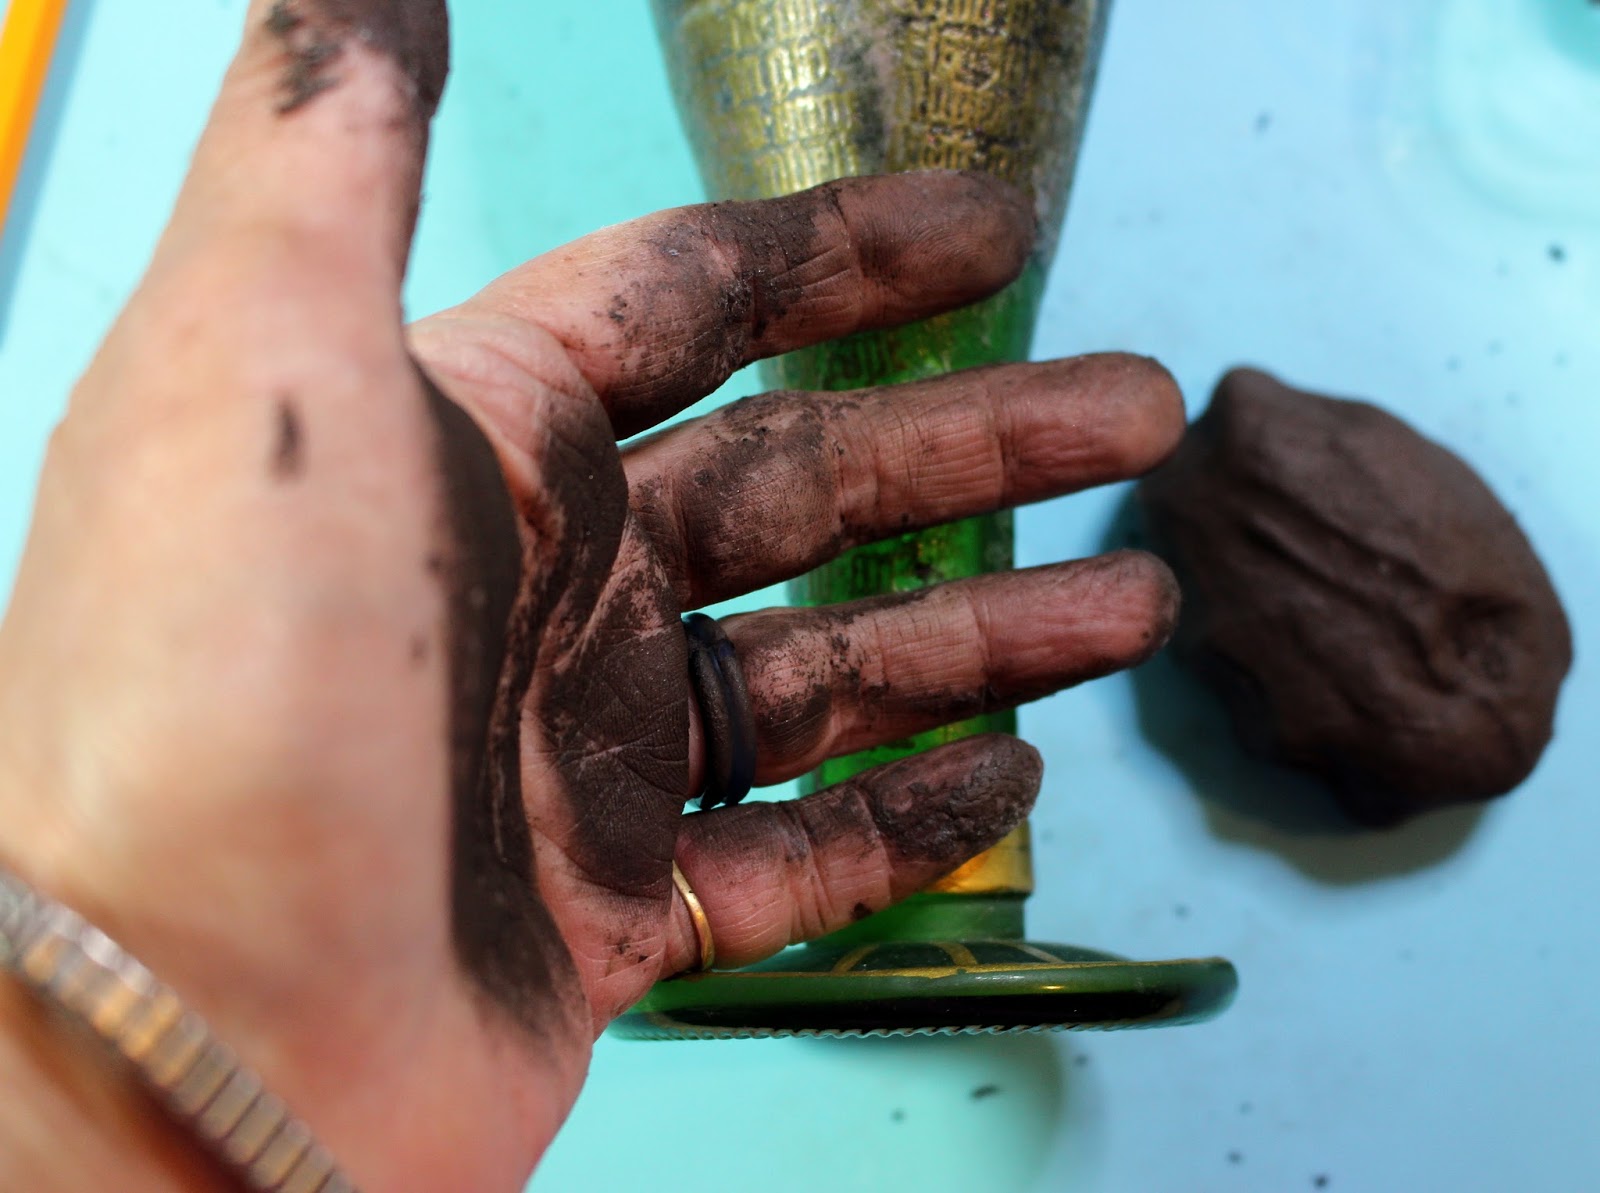
Next was true happiness – a fist full of Powertex Clay – tee hee. I mixed some Stone Art with Bronze Powertex (approx. 50:50) with a small addition of Transparent Powertex, working it well into a non-sticky consistency.
Next I cut of square of T shirt fabric to cover the glass base and treated it with Bronze Powertex. I also treated a strip of T-shirt yarn and used it to secure the fabric over the stem base, then wrapped it up around the glass. Snips of textured lace were treated and added around the base plus a strip of treated lace was added to create a border around the top.
A rough slab of clay was rolled out and impressed using the text stamp. This was glued onto the glass front using Powertex. Stems and leaves were moulded by hand and ‘glued’ in place along with the MDF embellishments. Where needed a little Easy Structure Paste was used as a 3D ‘glue’ (painted over with Bronze Powertex to hide the white colour). A faux gem was stuck into the centre of the ankh.
The chalice was then left to dry for a couple of hours.
Next came the fun of dry brushing. I used Rich Gold Colortricx mixed with Easy Varnish first. It looked a little uninteresting in just the one colour so I also dry brushed with some of the new Aqua Metallic Acrylic Ink. Both of these dry very quickly so I just repeated layers of dry brushing until I was happy with the result.
I will leave the vessel for a couple of weeks to fully dry and cure before giving it a final all over coat of Easy Varnish to fully seal it. Et voila! My lovely new drinking vessel. I cannot wait to use it.


Thursday, 26 October 2017

The End–Halloween Mixed Media Canvas created with Powertex

I just love a bit of Halloween Fantasy. Have you seen the FAB new stencil – ‘The End’ - from Powertex? Perfect for Spooky makes.


I used Easy Coat decoupage medium to apply stamped images from the Chocolate Baroque ‘Texture Fragments’ to the background. I also used Easy Structure Paste applied through the stencils and some onto the background and impressed with the stamps for added texture.


No fabric was included in this one but I used a lot of paper cut shapes treated with Transparent Powertex; great for stiffening, gluing and sealing the embellishments.

I hope that you enjoy my spooky scene.


Materials Used:

Sunday, 23 July 2017

Excited to be joining the Powertex Team as a guest blogger

I am so excited to be joining the Powertex Team as a guest blogger and am really looking forward to sharing my new creative journey with you all.

I am an ex medical scientist now self employed in jewellery and textiles. I also enjoy mixed media and card making too and am on the Design Team of a stamp company and a textile trimmings maker, so regularly blog my projects. I really enjoy helping people along on their own creative journey.

A couple of weeks ago I ventured up to Powertex UK HQ to take my Level 1 training. Tracey, Garry and the lovely team were all so welcoming and made me feel instantly at ease. I met some lovely people on the course and we spent a wonderful couple of days creating in Tracey’s studio. There were many wonderful projects on display from Tracey and the Design Team. Amazing talent and such an inspiration.

I managed to catch a pic of myself and Tracey in the garden. Tracey is the attractive one – tee hee.


The course was very intensive and we each created a wide range of projects, ranging from mixed media canvases and journal covers right up to a figurine. We were also given masses of useful guidance and information on setting up workshops for ourselves too. I learned so much and we all had a lot of fun and plenty of laughter along the way.

I have had a busy couple of weeks on my return and still have to put the finishing touches to my Level 1 projects. I will share them soon. In the meantime I thought that I would share my first ever ventures into the world of Powertex, following one of Tracey’s shows on Hochanda.


I created a couple of 30 cm square fossil themed canvases and a covered bottle – I hope that you like them. I was really pleased with the natural organic feel. Some of my friends thought that I had used real fossils. Being my first projects I hope that you will see what a beginner can achieve.


Below I have included a materials list and the step by step of techniques used to create the canvases, including some hints and tips to get the best results. The embellished bottle was created in the same way.
Happy crafting, Anne x.
 
Materials used:
 
How they were made:
  1. The canvases were already primed with gesso so I first gave them a coat of Powertex to colour and create a good surface for adhesion.
  2. I mixed up some Powertex with sand to make a thick paste. When the canvases were dry to the touch (it doesn’t take long) I applied the paste to the background using a palette knife through the stencil to create fossil textures. I then left them overnight to dry.
  3. I mixed more sand with Poweretex, this time to make a thicker drier clay. I think that the mix was about 50:50. Basically I gradually added sand until I had a workable clay that wasn’t too wet and sticky. I then pushed the clay into the silicone moulds to create the 3D fossils. I left them to dry for several hours until they could easily be released from the moulds without distorting. Some of the bigger ones needed to be left overnight. I then placed them on a drying tray (old kitchen wire grill tray – so air could get all around) and left them overnight to dry and further harden up. I made the clay up in small manageable batches so as not to waste reagents. Any clay that wasn’t being used straight away was wrapped in cling film to stop it drying out.
  4. Next I worked the Powertex into rough strips of hessian, and some pulled threads. I did struggle a bit with this at first as I used far too much Powertex. If you overdo it, like I did, grab another strip of fabric and use it to dab and squeeze out the excess. These were then ruched and applied to the canvas using a little extra Powertex as a glue where needed.
  5. I then applied my fossils using Powertex to glue. In some of the more textured areas I dunked some of the kitchen towel in Powertex to make a 3D glue ‘gel’ in which to embed my fossil embellishments. I also used strips of kitchen paper to create more areas of texture. I found that it was best to separate the paper into a single ply (i.e. split the double layered tissue into 2 sheets) to ensure that it fully coated and soaked up the Powertex more easily.
  6. Next I drizzled Powertex onto the canvas and sprinkled with texture balls and sand, plus a few glass beads. It is best to apply the largest balls first, then work down to the smaller sizes which fill in the gaps between the larger ones. Oh so much fun. I then left them to dry overnight ready for colouring.
  7. My canvas board was a cheap cardboard type and I found that it did warp quite a bit. When dry enough I clamped it down on my rigid art board to help straighten it out while drying. A thicker strong board (MDF type) does work better. It needs to take a lot of wet media. This was obviously not an issue when working on the stretched canvas.
  8. I was then ready to start adding more colour and depth with Bister and coloured varnish. Here is where I did have a slight panic. I first sprayed over my canvases with black Bister. When dry I then used a damp sponge to lift away some of the colour from the top layers. The idea was to emphasis the deep crevices and texture. Eeek – I thought that I had ruined it! The soluble Bister did lift off some areas but it was difficult to remove from others. My texture balls soaked it up and the hessian held onto quite a lot of it too. So where I had planned my colours and light areas got covered in darkness! Oh dear I thought (me swear? Tee hee).
  9. After I had calmed down, it then came to me. I could go over some of the areas using the Powertex as a paint. In addition I had opaque white Powercolor in my stash so I could use that too at the varnish stage. I over painted some of the areas with the coloured Powertex. I also used the Powertex to dry brush over areas giving more highlights. So all was not lost after all. Some of the Bister dissolved back into the Powertex as I worked giving a lovely natural organic look. Ooooh happy again.
  10. When the Powertex was touch dry I then dry brushed with the pigments and varnish. This stage takes a little practice. You need to mix just small amounts of varnish with the pigments (just a drop on your craft mat), remove most of it from the brush (brushing off onto tissue), then apply to the top layers lightly and gradually building up the colour. I mixed a tiny bit of ochre into white pigment (so not a harsh white) to dry brush some areas. Other areas I dry brushed with copper colour.
  11. To fully seal my canvas I mixed a 50:50 mix of varnish and water and sprayed it over the canvas. Spraying enabled me to get it in and around all the crevices and 3D embellishments. I applied several coats (leaving to dry between coats). This then makes the canvas easy to clean as it can simply be run under the tap (where cleaning with a duster or cloth would be tricky). If mounting your piece behind glass this stage would not be needed. Note: Coloured Powertex is weatherproof so complete sealing with varnish is not essential unless you have used Bister (remains soluble so would wash off unless sealed with varnish).
  12. Finally I added a bit of gilding wax around the edges of my canvases (this could be done with coloured varnish).