Showing posts with label Easy Varnish. Show all posts

Sunday, 3 February 2019

Tropical Art Doll Mixed Media with Powertex


I have never tried making an Art Doll before and I had so much fun making this. I wanted to make her really bright and cheerful with a tropical feel – the fabulous zingy cocktail colours from The Secret Art Loft Pigments, Inks, and Acrylics range were perfect.

Materials Used
Extras used on the canvas: A4 canvas board, White Paper Decoration, 3D Sand and Balls, Assorted Lace Strips, dried beech nut outer shells and pine cone, small paper clay flowers, old key, gold glitter plus mix blue & green seed beads.
 
How it was done:
First all the MDF components were popped out of the sheet and coated with Ivory or Bronze Powertex Fabric Hardener and left to dry. The box frame was constructed and hanger section attached (the Powertex acts as a glue too). I also coated one of the ‘waste pieces’ which I thought would make a great bird shape to insert into the box frame.
A background panel for the box frame was cut from the FAB images on the packaging sheet and glued in place using Easycoat decoupage medium. Acrylic Inks were used to add a tint of colour.
Easy Structure paste was applied through a texture stencil onto the large background panel and to sections of the frame. The Art Quotes Stencil was used to apply text to the frame, and to apply random sections of text to the wings.
When dry, translucent inks were used to tint the text on the frame. The outer background panel was coloured with Lemon Meringue and Orange Marmalade acrylics, then brushed over with a little Metallic Golden Ink to highlight the texture, before sticking down the box frame.
The birdy shaped waste MDF piece was coloured with acrylic paints and layered into the box using Transparent Powertex to glue. The metallic embellishment was coated with Ivory Powertex and stuck down. The beak coated with Bronze Powertex, and eyes created with seed beads (dark centres created with Bronze Powertex, drizzled into the bead hole with a cocktail stick).
Transparent Powertex was used to coat the fabric flowers and massaged into the aqua cotton fibres. It was also drizzled around the sides to embed the seed beads. A little sand was mixed with Transparent Powertex to make a 3D glue paste to help hold the flower stems in place.
More acrylic paints were used to colour, and to brush over textured surfaces. Easy Varnish was used to stick down sequins, and to embed glitter which was brushed over sections for extra sparkle. Pearl Pigments in Varnish were also applied with dry brushing to add shimmer. I just love a bit of bling.
The headdress and face were dry brushed with Pink Flamingo and Limoncello Gold Pigments mixed with Easy Varnish. Sequins and beads were added for more texture and bling. 1mm wire was used to make a hanging loop.
The wings were coloured with Acrylic Paints and Gold Ink and …  yes I had to add some glitter sparkle too.
Fabric strips and ribbon were treated with Transparent Powertex and used to wrap sections of plastic tubing to create beads for the upper arms and legs. The upper arms were attached with 1mm wire, through the holes in the box frame, in such a way that they were held in place (i.e. not dangling). This enabled the lower arm dangles to hang each side of the body.
The upper leg sections were attached so that they hung freely at the base giving movement. The lower arm and leg shapes were dry brushed with Varnish and Pearl Pigments, and beads stuck down with Transparent Powertex. These were hung from the upper arm and leg beads using wire loops so they dangled freely. Leaf and flower bead dangles were also added to the frame base and legs using 0.8mm wire (1mm was too thick to fit the bead holes).
The floral MDF shape was painted with acrylics, embellished with a metal filigree shapes and seed beads before gluing to the main background panel.
My finished Art Doll just makes me so happy. I love her bright happy colours. Plenty of bling and dangles too – cannot help but smile.
After using all the provided shapes to create her I looked at the pile of waste MDF bits left behind – they inspired me to create a canvas. I never waste anything – ha ha.
I coloured the background canvas with Bronze Powertex. Texture and the text was then applied using Easy Structure paste through the stencils. I just love this sentiment from the Art Quotes Stencil.
All the waste bits were coated with Ivory Powertex and applied down. I tried not to think about it too much – as I can spend hours procrastinating on positioning stuff! I just wanted to be free and ‘go for it’ and see what happened.
I then started coating some of the embellishments and building up the scene. Sand & Balls were added into wet Powertex and then coloured with inks and by dropping in some pigment powders.
I built up a sort of tree on the left hand side using Paper Decoration and lace, adding the Beech nuts and pine cone to embellish. 
More acrylic colour was added, and beads added by embedding in we Transparent Powertex. Pearl Pigments were added to varnish for dry brushing over some of the textures. Finally I just couldn’t help myself but had to add some gold glitter mixed into the varnish. More yummy bling.
The finished piece is fairly crazy and abstract but I was pleased with it. I thought that it looked like a foreground beach with water, sand and trees, then rising up in the background were buildings positioned up a hillside. A kind of tropical paradise I thought. You may see something completely different. That is the joy of abstract art. I had to pop in the key to ‘unlock the mystery’. I hope that you like my mad idea for using up all the scrap MDF bits.
Bye for now, Anne x.


Saturday, 30 June 2018

Steampunk Jewellery Plier Stands using Powertex

I have been meaning to decorate my jewellery plier stands for ages and finally got them finished.

I had a bit of a problem with these in that they started off as a plain varnished wood surface. I initially coated them with white Gesso with a view to painting them with acrylics. However, the Gesso did not bind well to the varnish layer – eek! All ideas were halted. These need to be fairly robust and a tonne of flaky chips after a short use was not what I wanted!

I then discovered Powertex and yay, I would be able to rescue and decorate my plier stands after all. Coating the entire surface with rice papers and torn kitchen towels would create a tough protective skin over the surface and prevent the feared chipping off of the base layers.

HOW IT WAS DONE
I first collected together lots of embellishments; die cut cogs and pipework (Sizzix dies), MDF Keyplate (Powertex), metal clock hand and chains, old light bulbs and screws.

I tore out images from Creative Rice Paper (Powertex). This particular sheet seems to be out of stock but there is a similar Victorian Steampunk Paper available. I also separated layers of kitchen paper and tore them into pieces to coat the surface. This would add texture and a protective layer.
STAGE ONE
First I applied the torn decorative papers using Easy Coat Mat Medium. Ivory Powertex was then painted on to blend in the image edges. 
STAGE TWO
Next layers of kitchen paper were bonded all over the surface. Some were glued down with Ivory and some with Terracotta Powertex. Die cut card embellishments were also coated with Powertex and glued down.
Texture was added by applying Easy Structure Paste through a texture stencil.
I also had a try at the rust technique. I mixed some Rusty Powder into Ivory Powertex along with a few drops of white wine vinegar. This was painted and dribbled over the surface (extra powder sprinkled on top) and spritzed with water and vinegar before leaving overnight to develop. I spritzed at intervals, several times. I avoided the areas that will be in contact with my pliers. 
STAGE THREE
Next I brushed over and added colour using Acrylic Inks in Tangerine, Egg Yolk, Aqua and Metallic Gold.  
STAGE FOUR
I also applied a little gold Pebeo Gilding Wax on some areas. When fully dry and cured (I left them for 3 weeks) I coated the surface with Easy Varnish to fully seal and protect.
I have included lots of images of how all the surfaces were built up.  
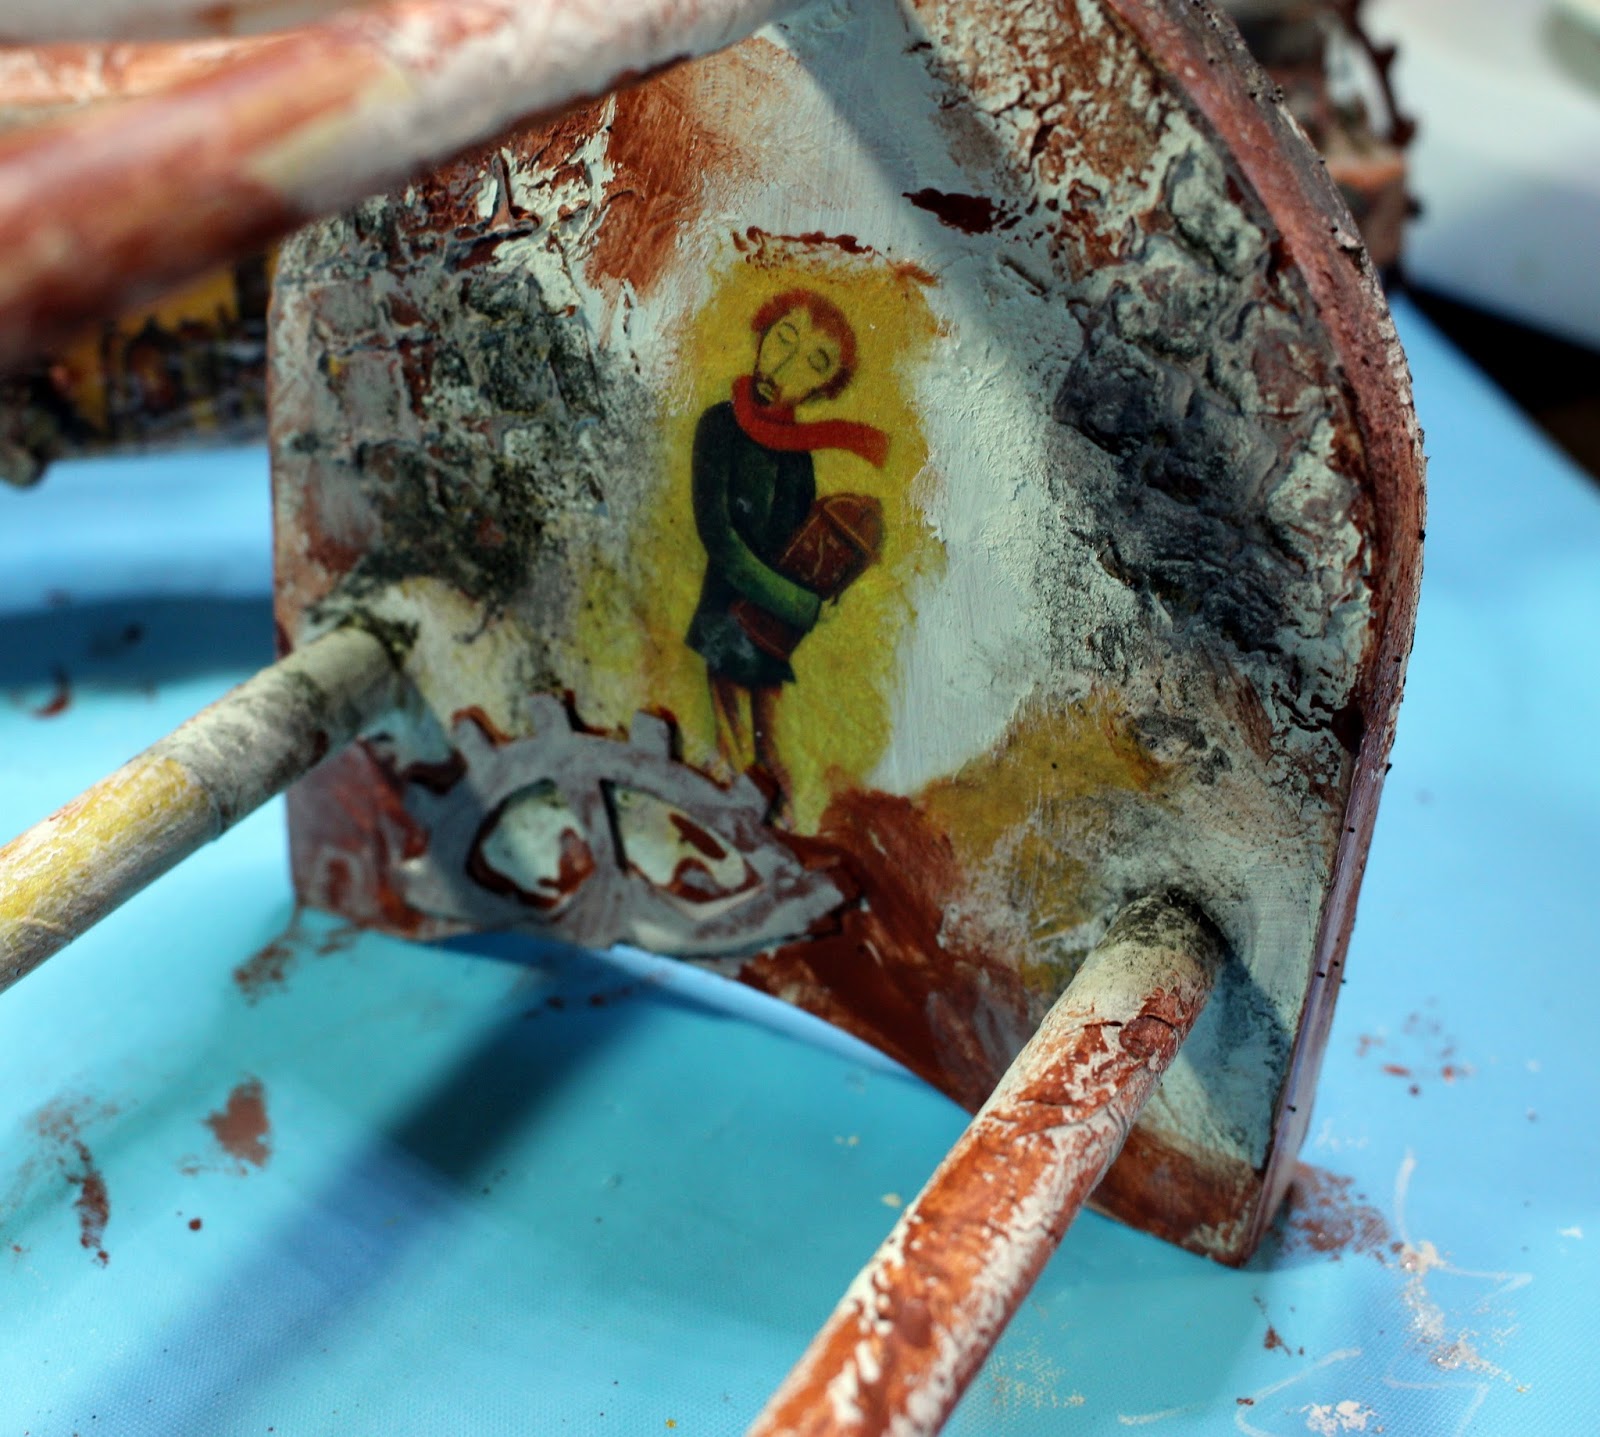
Texture and die cut cogs have been added. 
Rust and colour added. 
Side finished with stronger thick greyboard embellishments. Any large embellishments protruding from edges need to be strong (thinner card would be prone to warp and bend).
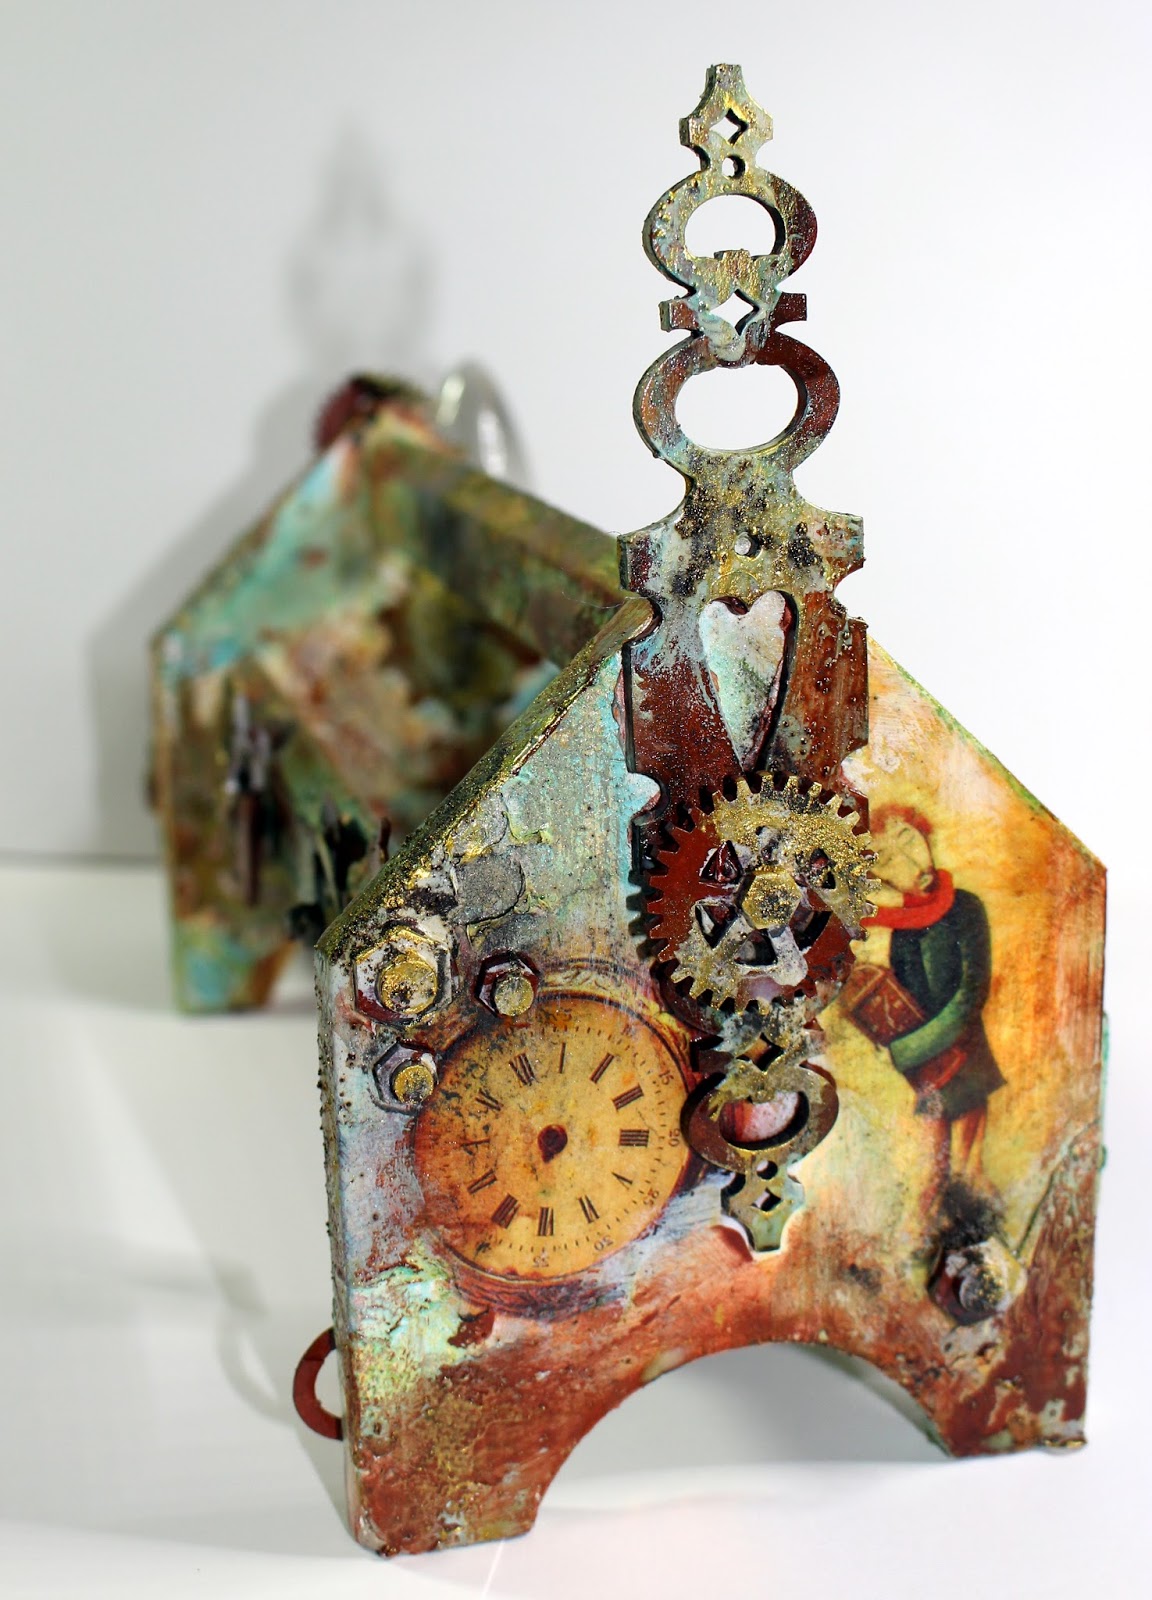
I started with a larger clock image on the other side. 
Die cuts and texture added plus a metal clock hand for dimension.

Finally finished with thicker embellishments and more dry brush work and gilding wax.
Love this character. 
Texture and layers built up. Waiting for the rust to develop. 
Building up the layers of transparent colour makes so much difference.
The second plier stand started off in the same way. 
At this stage you might feel like giving up. What a mess! 
Just keep going, adding layers of rust texture and colour.  
Just loving the gorgeous layers of texture and colour.
I used several layers of the die cut pipework together to make them thicker and stronger on this side. 
Wooohooo – this is soooooo yummy (or is it just me – tee hee).
Another end panel. 
I used an MDF keyplate (Powertex) to embellish this end. 
The final colouring makes such a difference.
The final side had a couple of little storage wells. I won’t really be using these so a perfect place to embellish with larger items. 
I had fun adding recycled light bulbs, screws and bits of chain etc. I used structure paste and Powertex treated kitchen paper as a 3D glue to hold things in place. 
Initially I had added a thinner die cut cog to the end but it wasn’t really strong enough. Here I added another thick greyboard cog over the first. Much more practical. I also added a small MDF Butterfly.

Here you can see more of the Steampunk treasures added. I also added some 3D Sand and Balls. 
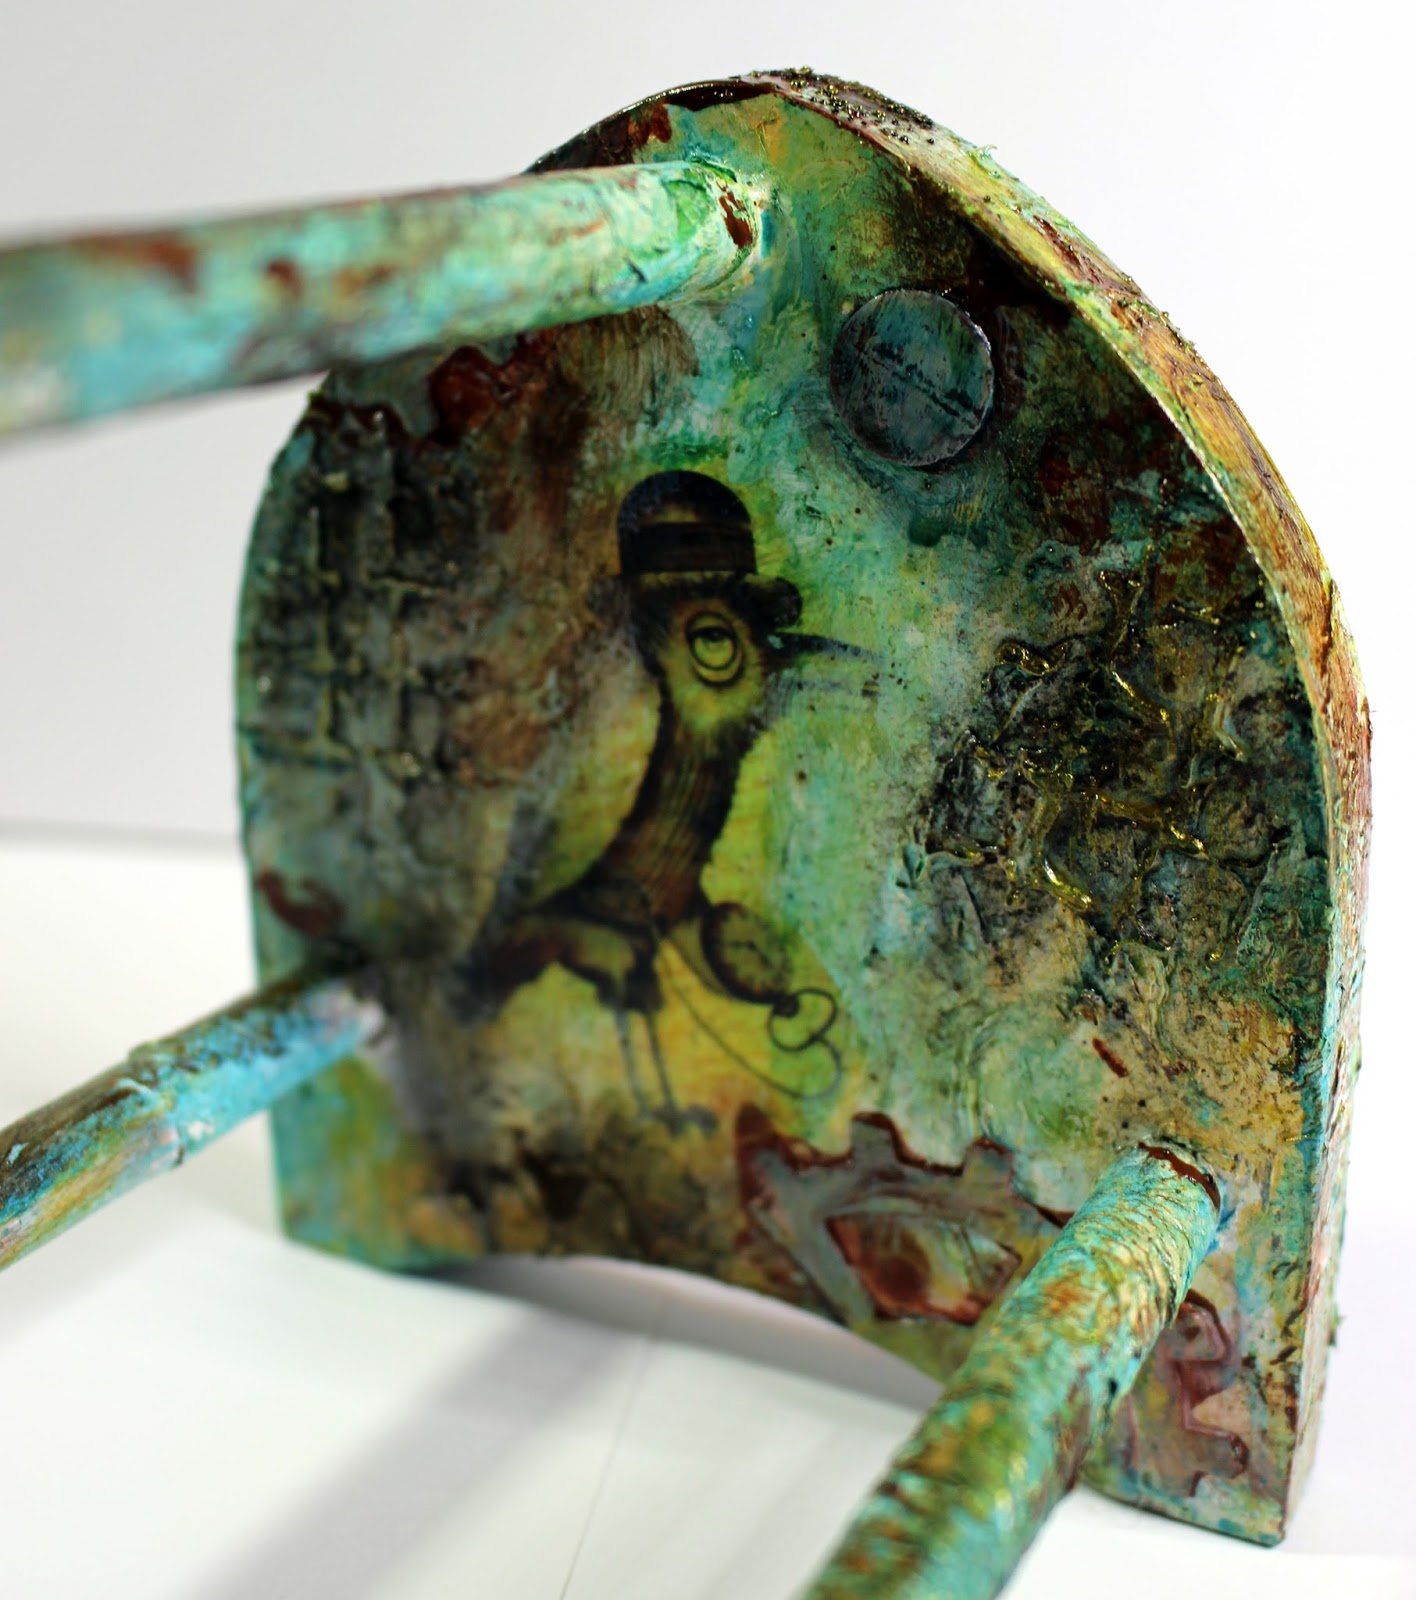
Love this Steampunk birdie peering out.
Well I hope that all these pictures have not overwhelmed you. I wanted to show how all the stages were built up. It also shows the stages that look awful, perhaps where a beginner might give up! Remember, if it all goes wrong just keep applying colour, inks or coloured varnishes. If this fails and you are really not happy – just paint over the whole thing with a base colour of Powertex and start again.
Hugs, Anne xxx.


Wednesday, 27 June 2018

Floral Trinket Box created with Powertex

I have had a wire box frame in my stash for ages. Originally it had a woven straw covering that fell apart so I removed it with the intention of recovering it. It ended up as another ‘UFO’ (unfinished object) for years. I have finally dug it out and created this Powertex treated fabric box embellished with hand made fabric flowers. Now it’s a fabulous trinket box for storing some of my crafty treasures.
The bare wire frame is a strong construction – similar to the type of wire used to make coat hangers. It measures approx. 8 inches square across the top and 6 inches deep.
I used some recycled cotton bed sheets and treated them with Black Powertex to cover the box and lid. I lined the outer and inner panels to completely cover the wire frame. I gathered some cotton trims for the next stage; some crochet lace and a piece of gathered Broderie Anglaise.
I treated the crochet lace with Powertex and applied around the box base.
The gathered lace was applied around the lid. I also dug out some greyboard lazer cut foliage shapes to embellish the top. These were coated and stuck down with Powertex. When dry I started dry brushing over the surface using Easy Varnish and Silver Colotricx. Extra colour was applied to the foliage to make it stand out from the dry brushed background.
Here you can see the dry brushed lid next to the unpainted base. The dry brushing has emphasised the texture and added metallic highlights.
Next I made some fabric roses from 25mm and 15mm strips cut from recycled bedding. These were created using Ribbon Ruching Flower Combs from Gina B-Silkworks. Basically strips are marked out using the Flower Comb templates, a running stitch is sewn along the marked lines and the stitching is pulled up to gather and shape into a rose. I prepared my strips and treated with Powertex before pulling up the stitching. The Powertex holds and glues the gathering in place. I left the flowers to dry before adding to the box top.
To create the roses I followed instructions detailed in Gina’s new Ribbonwork Flowers Book: Twist Roses from 25mm cotton strips using comb 3a (Rococo Comb Set) and 1930’s Roses from 15mm strips using comb 13a (Venezia Comb Set).
I used one of my dies to cut a frame for the centre (Sizzix), applied to the top and finished in the same way as the greyboard foliage.
The flowers were dry brushed with Easy Varnish and Interference Lilac Pigment. Loving these new Pearl Pigment colours! Powertex was then used to glue down the roses to the centre. I added some ready made flower stamens around the group (purple), and some small ready made satin ribbon roses to the corners (Powertex treated and coloured).
Next I mixed some 3D Sand and Balls into Black Powertex and drizzled the mix around the flowers. A few untreated balls were also dropped into the wet Powertex. The untreated balls kept their original colour on the surface giving contrast with the black base. Once dry I coloured by brushing over the surface using Easy Varnish and Mojito Lime Pigment.
I also dry brushed a little of the Lilac pigment sparingly over the lace trims and used to colour some hand made air dry clay embellishments (created using a silicone mould from my stash) added to the box corners.
I used one of my large rubber stamps (lace design from Heartfelt Creations) to stamp some extra textural interest around the sides using Viola Metallic Acrylic Ink. Note: the fabric surface is already quite textured and not very flat so the stamping does not give a clear impression of the design but just adds a little more depth and interest to the surface.
I hope that you like my new treasure box.
Hugs, Anne xxx.