
I had fun creating a medieval chalice from an old glass that I have had for years. If you look closely it is actually made from a recycle wine bottle cut in half. The old bottle base is cut off and stuck to the bottle pouring top. The upturned bottle therefore making a new glass. I didn’t make it myself but it was a present from my ex’s daughter and has sentimental value. Now I have a super chalice to fill with cider and enjoy my drink along with good memories.
I wanted to keep the rim of the glass clean as I intend to
use it as a drinking glass. I can clean the inside properly and around the rim
etc. after use. The outer decoration will be ok with rinsing but obviously will
be washed with more care.
For those that of not heard of Powertex – it is a non-toxic environmentally
friendly fabric hardener that can be used to treat natural fibres (cotton, wool,
silk, wood, MDF etc.) and create items that are weatherproof.

I first stamped some tissue paper (recycled packaging) with Versamark
Ink and heat embossed the script image (Butterfly
Poppy Collage set from Chocolate Baroque) with metallic
gold embossing powder. I also collected some MDF embellishments ready for
decorating. The Ankh is from the Pyramid
and Ank Trio set, the hares and small cross from the Mini
Hieroglyphs set.

As I wanted to keep the glass for functional use I didn’t
want to completely cover it with texture and wanted to keep the stem area
comfortable to hold. I first painted a band of black ‘all surfaces’
weatherproof glitter paint (Black Diamonds Crystal Glitter) onto the glass to
add some interest and texture which will show through the background areas that
I wanted to keep fairly smooth. The gold paint that you can see on the base was
done some years ago with glass paints – I covered this up in later steps.
Next I tore areas of the script paper and applied them over
the glass stem and bowl using Easycoat
Mat Decoupage Medium. Tip: I used a water pen to draw around the pieces
that I wanted, making it easy to tear shapes in a more controlled way. I
sprayed with a little Green Bister
just to blend in a little (dabbing off excess dribbles) where the white tissue
paper was a little obvious.
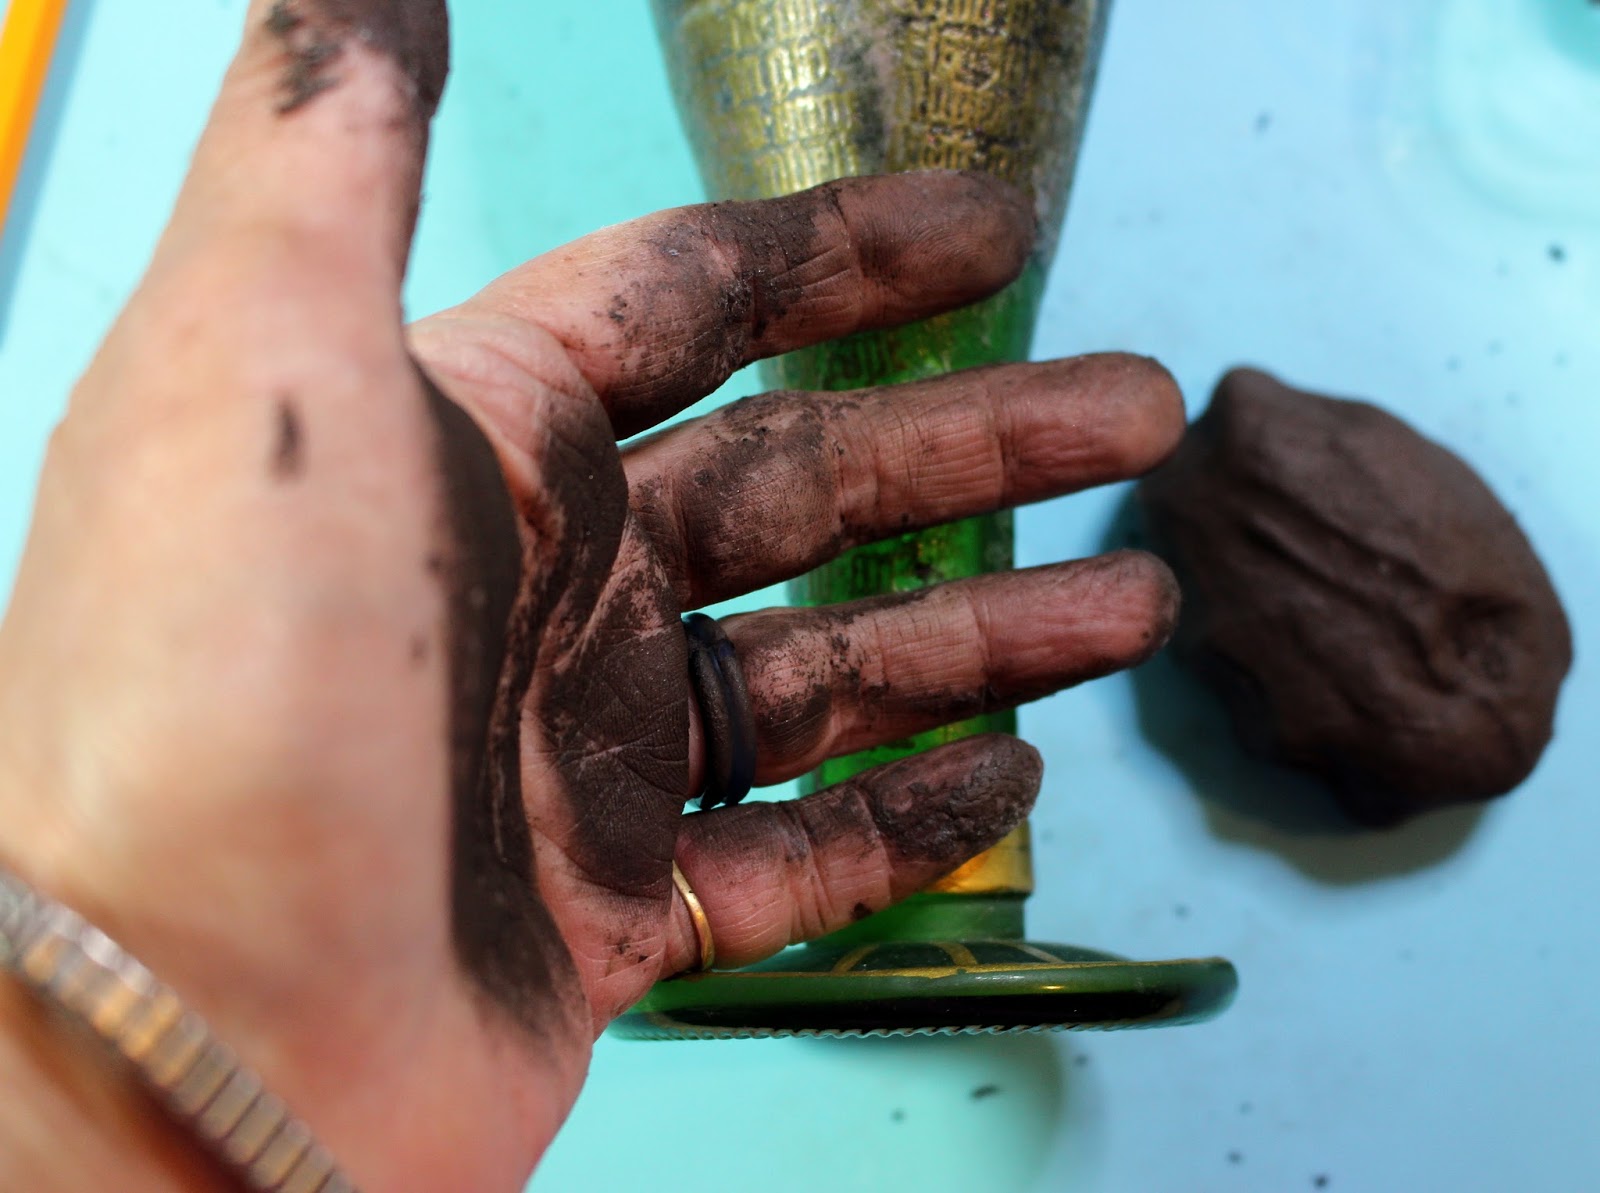
Next was true happiness – a fist full of Powertex Clay – tee
hee. I mixed some Stone Art
with Bronze
Powertex (approx. 50:50) with a small addition of Transparent
Powertex, working it well into a non-sticky consistency.

Next I cut of square of T shirt fabric to cover the glass
base and treated it with Bronze Powertex.
I also treated a strip of T-shirt
yarn and used it to secure the fabric over the stem base, then wrapped it
up around the glass. Snips of textured
lace were treated and added around the base plus a strip of treated lace
was added to create a border around the top.

A rough slab of clay was rolled out and impressed using the
text stamp. This was glued onto the glass front using Powertex. Stems and
leaves were moulded by hand and ‘glued’ in place along with the MDF
embellishments. Where needed a little Easy Structure Paste
was used as a 3D ‘glue’ (painted over with Bronze Powertex to hide the white colour).
A faux gem was stuck into the centre of the ankh.

The chalice was then left to dry for a couple of hours.

Next came the fun of dry brushing. I used Rich
Gold Colortricx mixed with Easy
Varnish first. It looked a little uninteresting in just the one colour so I
also dry brushed with some of the new Aqua
Metallic Acrylic Ink. Both of these dry very quickly so I just repeated
layers of dry brushing until I was happy with the result.

I will leave the vessel for a couple of weeks to fully dry
and cure before giving it a final all over coat of Easy Varnish to fully seal
it. Et voila! My lovely new drinking vessel. I cannot wait to use it.


2 comments:
Wow! What an amazing mixed media project! Your chalice looks stunning. Popped by to say thankyou for your lovely comment on my blog. Have a great weekend, Cathy x
Thank you Cathy x
Post a Comment