Showing posts with label Silhouette Cameo. Show all posts

Thursday, 31 October 2019

Spooky Halloween Tassel


Good afternoon. I just had to share a Halloween make today. I hope that you like this creepy tassel that I made as a sample for Gina’s recent tassel making shows on Hochanda TV.

Materials:
  • Polystyrene egg
  • Orange mesh ribbon (approx. 1 inch wide)
  • Commercial embellished cord – orange felt flowers, pearls, beads, sequins, pumpkin shaped metal bells attached to orange raffia cord (from my stash)
  • Double knit wool (gold/ochre)
  • Black ribbon and commercial black cord scraps
  • Black die cut sentiment ‘Boo’ (Tattered Lace Die)
  • Bats and spiders cut on my Silhouette Cameo machine from black card (Silhouette Store: ‘Spider Web Lantern’ from Jennifer Rush and ‘Bats Flying’)
  • Gold and black flower shaped sequins
  • Strong cotton thread for tying (I used warping cotton but a button thread would work too)
  • Clear drying fabric glue or PVA
  • Sewing needle & thread, extra-long sewing needle (e.g. Shashiko or doll needle)
Recommended Tools and Tassel Tutorials:
Gina B Silkworks has a fab selection of tools and publications which will help you to make a range of tassel embellishments: from soft tassels suitable for clothing, to more complex tassels for soft furnishings. Here are a few items that I can recommend for tassel making.
How it was done:
  1. I first covered the egg by wrapping with the mesh ribbon. It was easiest to wrap in a top to bottom direction (i.e. turning the egg on a vertical axis as wrapping around). Secured with a couple of stitches and fabric glue.
  2. I next made the long wool tassel skirt and tied with strong thread. I used the extra long needle to secure it onto the egg. I passed the needle up through the egg to anchor, and out of the top to make a hanging loop. The join was covered with black cord to neaten.
  3. The neck of the tassel was then bound with strong cotton. I secured lengths of the embellished raffia cord into the binding. This was then covered with a black ribbon wrap and tied bow.
  4. Next I glued on the spooky embellishments and sequins. I attached the bats and spiders onto the cords by gluing 2 cut shapes together sandwiching the cord between the card shapes.
Happy Halloween x.


Saturday, 14 January 2017

Leafy Trails card and gift box created for Chocolate Baroque


Good morning. I am excited to share one of my samples for Lesley’s first TV shows on Hochanda at the start of the month. Lesley demonstrated several sets of stamps from Chocolate Baroque featuring a romantic theme with gorgeous roses and heartfelt sentiments. Great for creating projects for loved ones, Valentines Day, Weddings and Anniversaries too.

I have used the Big Bold Backgrounds Leafy Trails stamp to create this card and to decorate a small gift box to match. I embellished using the Rose Stem Script stamp and a sentiment from the Words of Love set.

Materials:
* The gift box is a purse design from Silhouette – I think that it came included with the Silhouette Studio software

How to make:

Stamp the leafy background with Versamark and heat emboss with gold powder. Trim stamping card to fit the card blank leaving a small border. Round the corners with a punch or scissors. Edge with the alcohol marker.


Open out the box and lay flat. Mine was cut on the Silhouette Cameo, but you could use a die cut or a ready-made plain box. My box measured approx. 30 X 21 cm when opened out. Stamp and emboss the box sides with the leafy stamp.


Colour the card front and box with sparkle pens. Spray with a coat of sparkle varnish. Glue the background mat to the card front.

Cut a strip of card, stamp the sentiment and small border with teal ink. Trim and edge with alcohol pen. Attach to card front with 3D foam.


Stamp the rose panel in Versamark Ink and emboss with gold powder. Colour with watercolour and sparkle pens (both are water based so can be used together). Cut out the rose and lightly shape. Tie on a ribbon and glue to the card with 3D glue gel.

Wednesday, 4 January 2017

Harlequin Rose card and gift box created for Chocolate Baroque


Good morning. I am excited to share one of my samples for Lesley’s first TV shows on Hochanda today. I am looking forward to being able to see more fabulous demos from this talented lady. Lesley will be bringing some gorgeous sets of stamps from Chocolate Baroque featuring a romantic theme with gorgeous roses and heartfelt sentiments. Great for creating projects ready for Valentines Day, but also suitable for Weddings and Anniversaries too.

I have used stamps from the Harlequin Rose set to create this card and to decorate a small gift box to match.

Materials:
*I used a GSD cutting file and cut the box on my Silhouette Cameo electronic cutting machine (CD86 Party Favour Boxes from Cocopopart).

How to make:

Trim stamping card to fit the card blank leaving a small border. Stamp the decorative border with Versamark and heat emboss with gold powder.


Open out the box and lay flat. Mine was cut on the Silhouette Cameo, but you could use a die cut or a ready-made plain box. My box measured approx. 20cm square when opened out. Stamp and emboss the box sides with the border stamp.

Colour the card front and box with Distress Ink using a sponge. Colour the border flowers with teal sparkle ink.

Stamp the sentiment onto the card front with Distress Ink. Stamp the mini border with teal ink. Distress the card edges and glue to the card front. I used the edge of my scissors to do this.


Stamp 2 mini tags with the small heart and emboss with gold, emboss along the edges too. Colour with Distress Ink and then with teal pen. Add ribbon and fabric rose and glue in place on the box and card.

Stamp the rose panel in Versafine ink and trim fit on the card front. Ink the card edges with Distress Ink and roughen.


Colour the leaves with teal and clear sparkle pens. Colour the rose with Distress Ink; applying to a palette and picking up colour with a water brush. Brush over the highlights with clear sparkle pen. Attach to the card front with 3D foam.

Monday, 31 October 2016

Halloween Canvas using the Day Of The Dead Collection from Sheena Douglass


Oooh I do love Halloween. I so enjoy making spooky projects. I created this canvas for a couple of my friends. I used Sheena Douglass ‘Day Of The Dead’ stamps and dies, and I coloured the image so it looked like them. I also used Sheena’s Festive Ivy and Christmas Foliage dies to decorate.

Materials:
  • Stretched canvas approx. A4 size
  • A4 sheet white stamping card (Sheena Douglass)
  • Black, white and green card
  • Brother ScanNCut CM300 machine
  • Silhouette Cameo machine
  • Die cutting machine (EBosser)
  • Sheena Douglass Day Of The Dead Collection (Eternal Love stamp and Dancing Skeleton, and Pawprint memories dies)
  • Sheena Douglass dies (Festive Ivy and Christmas Foliage)
  • Other dies: acorn (Spellbinders) and leaves (Tattered Lace)
  • ScanNCut files: built in designs for the ‘Happy’ and ‘Halloween’ text
  • Silhouette files: JM Rush for spiders (Spider Web Lantern), Bats Flying and Spooky Banner
  • Gesso (black)
  • Inkpads: Versafine (Tuxedo Black), Distress (Gathered Twigs and Tea Dye)
  • Spray and Sparkle (Crafters Companion Diamond Pearl)
  • Pebeo Gilding Wax (King Gold)
  • Spectrum Aqua watercolour pens (pinks, oranges, greens, teals, turquoises, greys, yellows and reds)
  • Brown pencil (to colour bats)
  • Black fine tipped marker (to enhance shading & detail to stamped image)
  • Stickles glitter glue (Crystal)

Cemetery Halloween Lantern created on the Silhouette Cameo


I created this Halloween lantern using my Silhouette Cameo and files from Carina Gardner (from the Silhouette store).

I had so much fun creating these and they are a quick make (compared to the other lanterns – see my posts below).

Carina has a range of spooky candle holders in the Silhouette Store . All are easy to construct, so great for last minute makes to decorate on Halloween Eve.

Materials:
  • Silhouette Files: Cemetery Candle Holder by Carina Gardner (downloaded from the Silhouette store)
  • Silhouette Cameo cutting machine
  • 1 X A4 (approx 8.25 X 11.75 inch) sheet black card
  • 1 X A4 sheet vellum for each (yellow)
  • Stickles glitter glue (Crystal)
  • Battery operated tea light or candle (flameless)
How to make it:

Cut the lantern in black card and the liner from coloured vellum. It is very easy to make as there is just one piece each for outer and inner liner. Construct by applying glue to the tabs.
Finish with glitter glue on the trees for a bit of sparkle.

Saturday, 29 October 2016

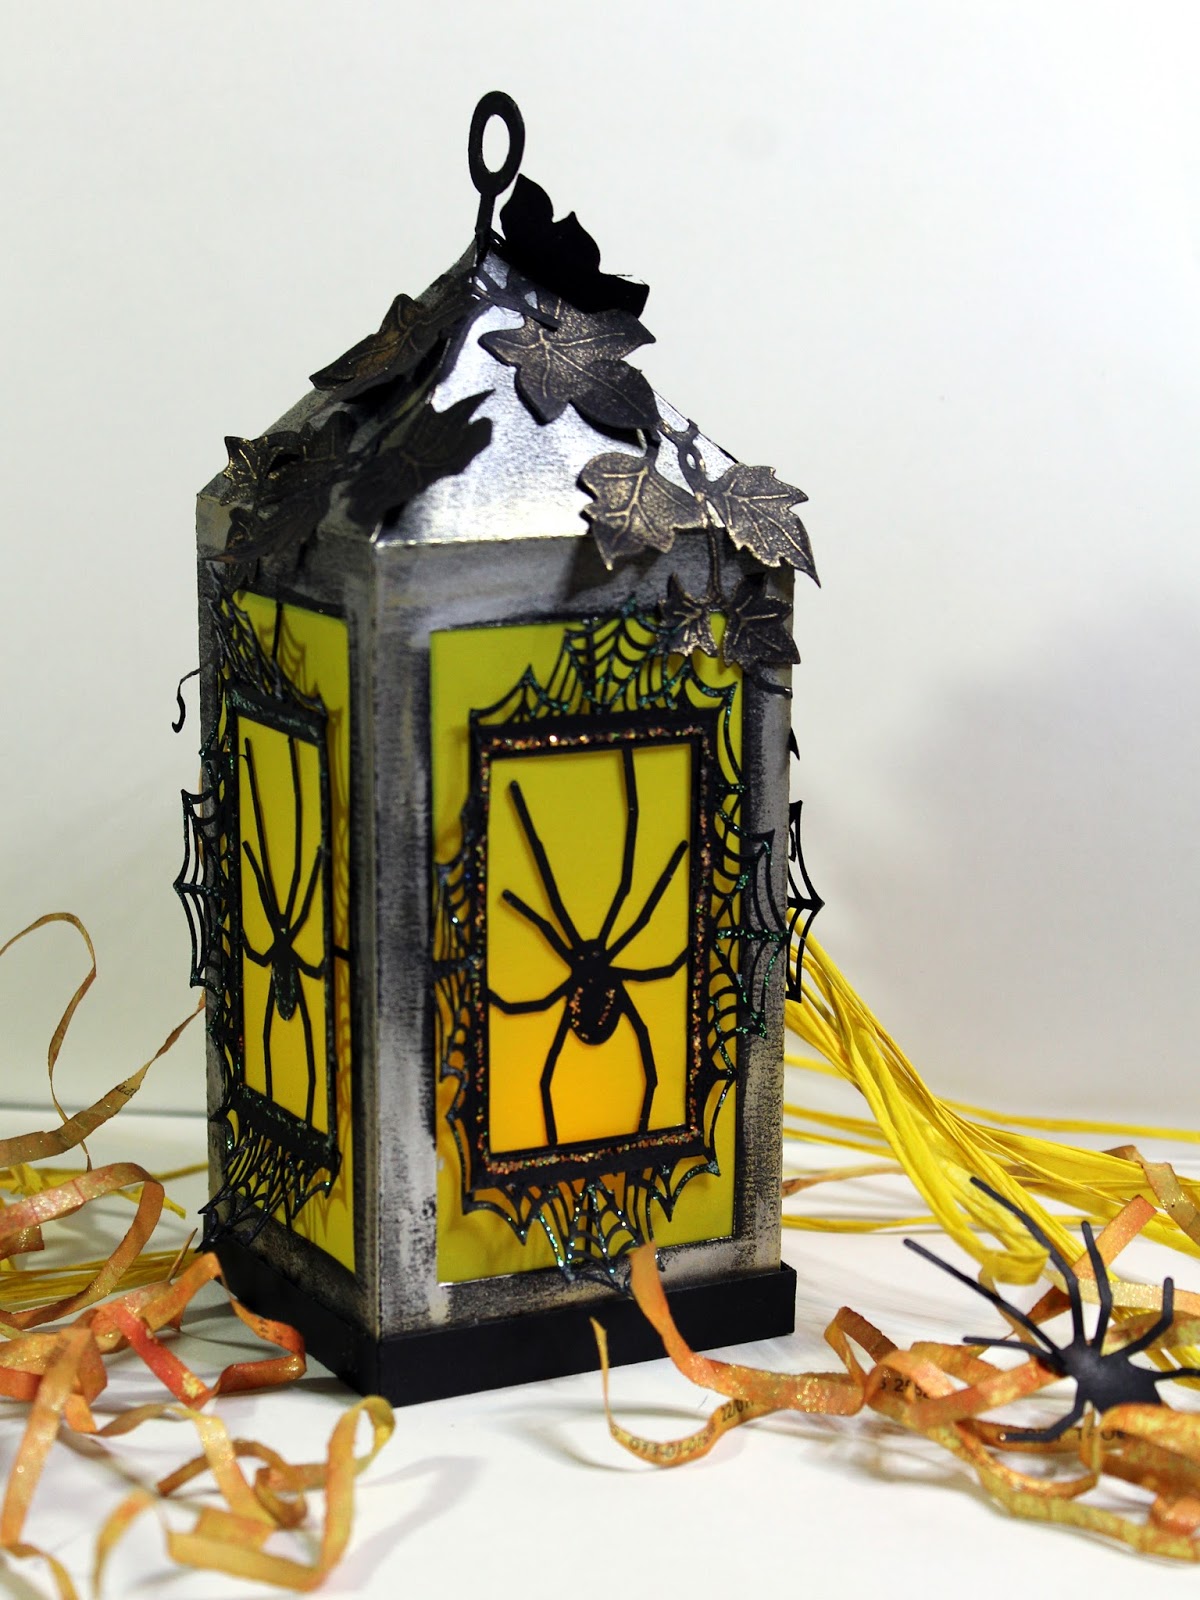
Skull and Spider Web Tea Light Lanterns created on the Silhouette Cameo


I created these Halloween lanterns using my Silhouette Cameo and files from Jennifer Rush Designs (from the Silhouette store). I also used the Festive Ivy die from Sheena Douglass to decorate.
I had so much fun creating these. Off to get some more spooky projects finished.
Materials:
  • Silhouette Files: Spider Web Lantern and Skull Lantern from JM Rush Designs (downloaded from the Silhouette store)
  • Silhouette Cameo cutting machine
  • 4 X A4 (approx 8.25 X 11.75 inch) sheets black card for each lantern
  • 1 X A4 sheet white card (for skulls)
  • 1 X A4 sheet vellum for each (orange or yellow)
  • Festive Ivy die (Sheena Douglass)
  • Stickles glitter glue (Crystal and Icicle)
  • Pebeo gilding wax (King Gold, Empire Gold and Silver)
How to make them:
  1. Cut the lanterns and web layers from black card. Cut the windows from coloured vellum. Cut the skulls from white card. Construct following the instructions on Jennifer’s tutorial blog posts (links in the materials list above).
  2. Rub gilding wax over the lanterns, buff up when dry to give them a metallic effect. You may find this easier to do before adding the web frames.
  3. Die cut and emboss the ivy from black card. Rub over sparingly with gold gilding wax to give a metallic effect. Shape with a ball tool and glue in place to decorate the lanterns.
  4. Finish with glitter glue for a bit of sparkle.