Showing posts with label Chequered Flowers. Show all posts

Tuesday, 15 August 2017

Quick and easy Chequered Flowers card created for Chocolate Baroque

Good morning. This one is a quick and easy card using the Chequered Flowers stamp from Chocolate Baroque.


Materials:

How to make it:
  1. Trim the stamping card to fit onto the card front. Mask the border using a strip of copy paper (tip: cut the strip wider than the card and tape to craft mat at either side).
  2. Repeat stamp the image across the card front.
  3. Remove the mask, stamp the sentiment and draw the border edges with black pen and a ruler. Colour the bottom edge with 3D glaze gel pen.
  4. Edge the topper with black marker to frame and glue to the card front.
  5. Stamp another flower onto scrap card, colour quickly with watercolour pen (don’t worry about staying within the lines – just scribble over to colour). Cut out the flower, shape slightly and glue to card front.
  6. Finish with clear sparkle pen over the background flowers, and by drawing faux gems and shiny detail on coloured flower with 3D glaze gel pen.

Saturday, 5 August 2017

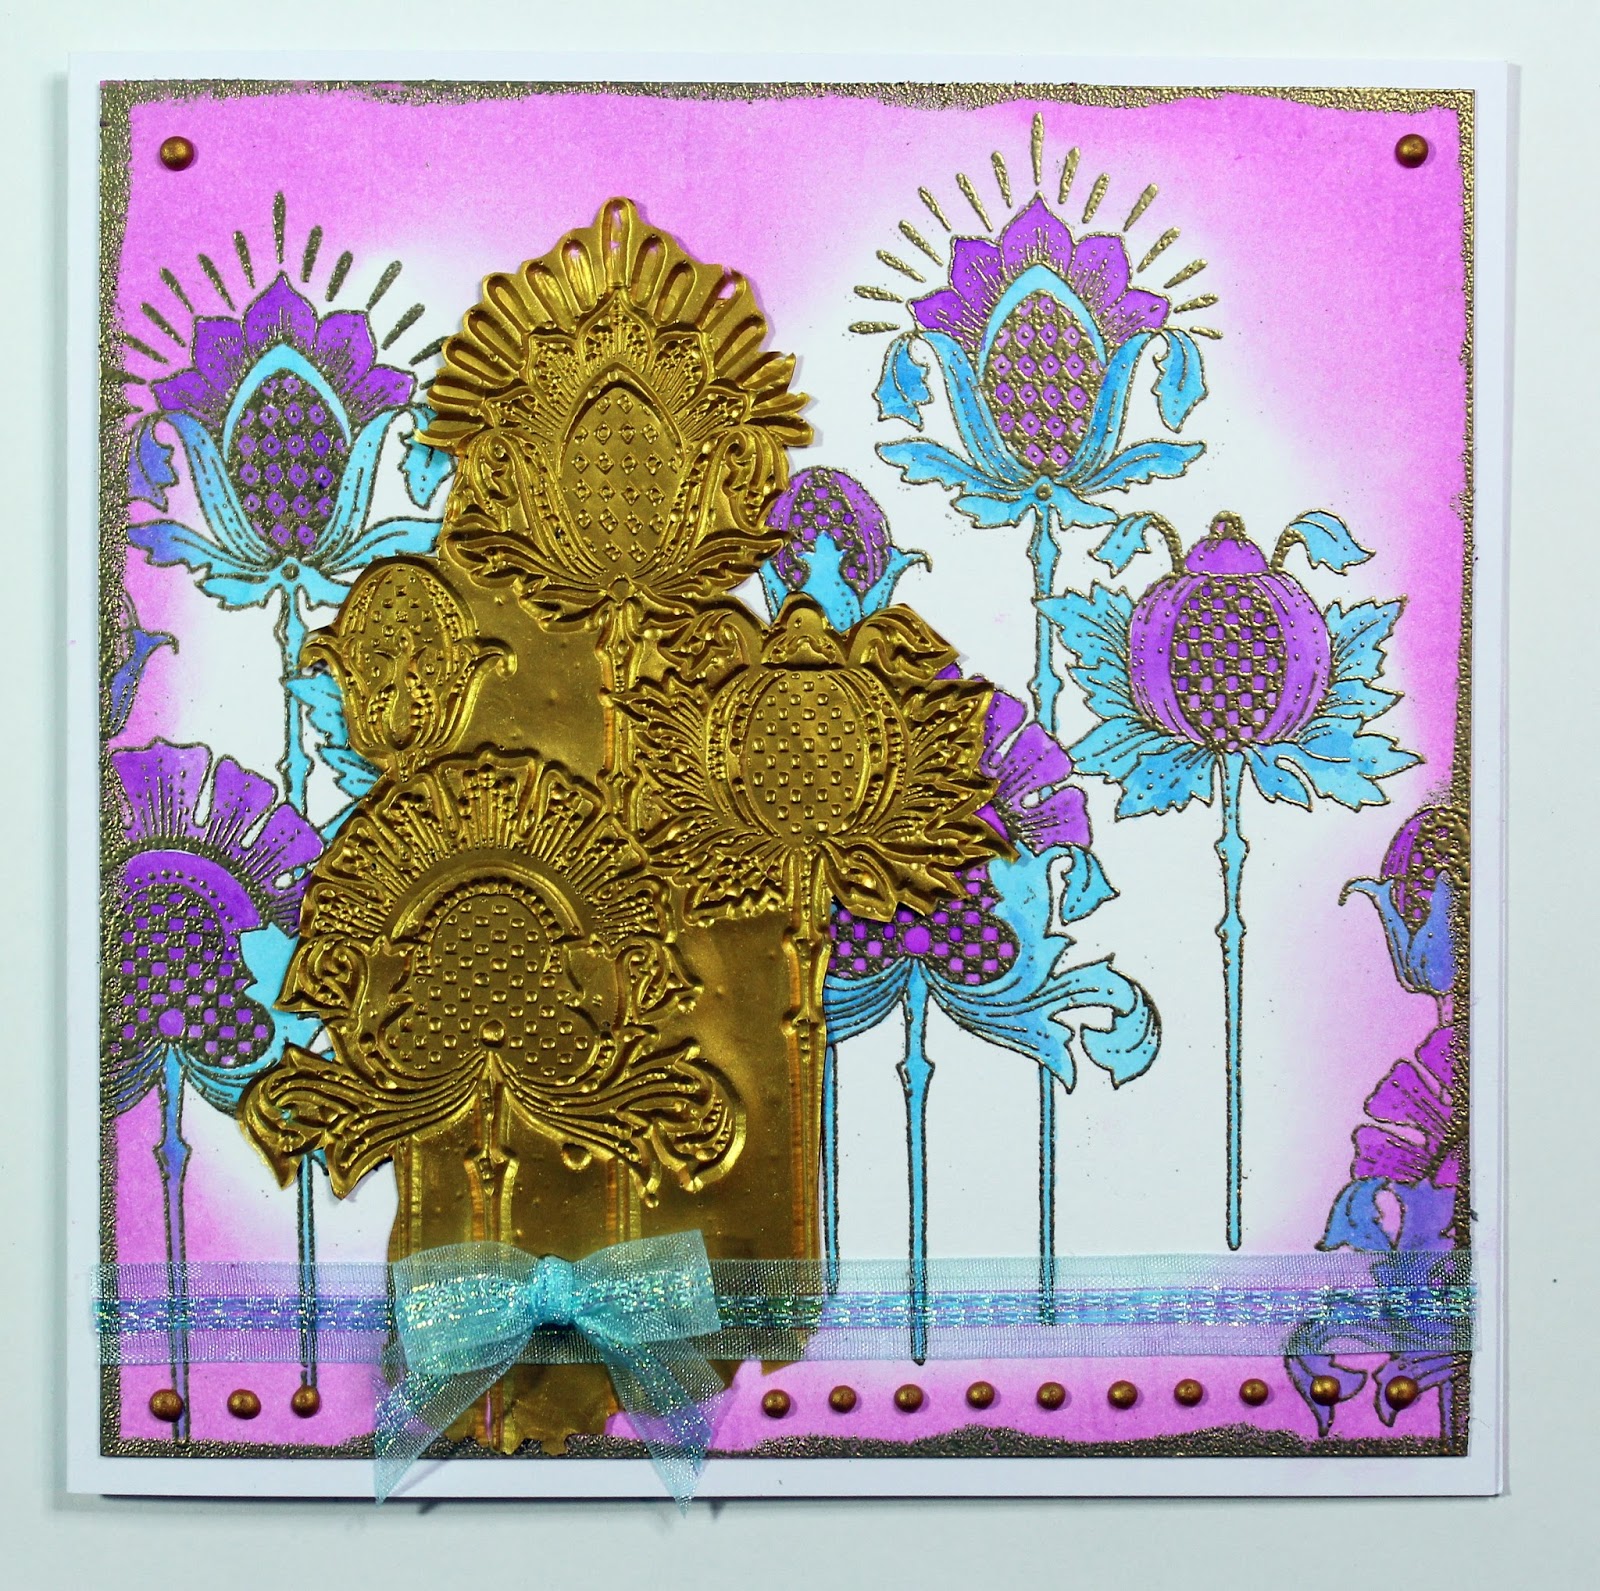
Chequered Golden Flower card created for Chocolate Baroque


Good morning. This is another of my recent show samples using the Chequered Flowers stamp.

Materials:
How to make it:
  1. Spread the relief paste over the stamp with a palette knife and leave to dry. Drying time depends on room temperature and humidity but it will need at least a day. Mine took 2 days to fully dry. When dry gently peel away from the stamp and trim around to neaten up any messy edges.
  2. Stamp the image with Versafine and heat emboss with gold powder. Colour with watercolour pens and a damp brush. The embossed lines resist the water and make colouring quick and easy.
  3. Apply a couple of drops of glycerine to a blending sponge and work in well. Now use this to pick up watercolour from your craft mat. Blend colour around the edges of the card. The Glycerine make the watercolour behave more like a Distress Ink making blending easy.
  4. Apply Versamark Ink along the card edges and heat emboss with gold powder.
  5. Glue down the paste embellishment. Attach the ribbon and bow, then glue panel to the card front.
  6. Finish with PVA pearls