Hi all. Today I am sharing a floral mixed media canvas. I
started it just over a year ago and it had been sitting as a ‘UFO’ ever since. I
usually continue with a project until it is finished, but must admit that if it
gets put away before finishing I find it very difficult to get it back on
track. So pleased that I dug it back out and got inspired to complete it.

I started working on this at Powertex Headquarters as part
of my Level 1 training. I have to say that it was a fabulous couple of days
where Tracey took us through a whole host of fabulous techniques.
Black
Powertex was used to coat a 12 X 12 primed and stretched canvas. Various
fabrics, pieces of lace, kitchen paper and Paper
Decoration (White) were coated with Powertex and laid onto the canvas.
Small polycarbonate test tubes were covered in cling film (to protect) and
incorporated into the canvas. The layers were left to dry before working on the
next stages. I also coated the little wooden canvas stretchers to make am area
for maybe adding text.

Various pigment colours were mixed and applied with Easy Varnish (Powercolor: Burgundy,
Ultramarine, White; Colortricx:
Rich Gold and Powerpearl). Initially I was unhappy with the results as
everything appeared too dark. I am definitely a colour girl. After some thought
I drizzled on some Green Powercolor in Varnish diluted with a little water to
make more of a wash. Oooh – much happier.
This was the stage at which it was almost finished but I still
wasn’t happy with it – hence it sat in the cupboard for a year. I really
thought that it needed more decoration and building up with embellishments. I
collected together some MDF cogs (already treated with Black Powertex and
rubbed over with gold gilding wax), die cut birds, silk flowers and air dry
clay flowers created with silicone moulds from my stash. I also had a stash of moulded
flowers created with pearlescent acrylic modelling paste (I put some turquoise glitter
in the moulds while making these – yay bling).

I added more colour to the canvas using the new Metallic Inks from the
Secret Art Loft (Aqua and Golden).
The paper clay and card embellishments were coated with
Black Powertex before sticking down. Where needed I used Easy Structure Paste
tinted with Powertex to make a 3D glue for sticking down.
The sentiment (from Chocolate Baroque) was stamped onto card
with Versamark (Onyx Black) and applied with Easycoat Matt Medium to glue
and seal. The pine cones were treated with Bronze Powertex
and rubbed over with gold gilding wax. Beginning to love it now.

I continued building layers of embellishments and also added
some created with yellow tinted clay and treated with Transparent
Powertex. I liked the pop of complimentary colour. More colour was also added
to Varnish and dry brushed over the textural surfaces. I really love the new Secret Art
Loft Pigments (Interference Lilac, Limoncello Gold, Violet Valentine), they
are so vibrant over dark backgrounds.
The silk flowers were treated with Black Powertex and dry
brushed with Violet Valentine and Interference Lilac Pigments. Clear varnish
was applied over the yellow flowers and the acrylic embellishments to seal. A
little Glossy Accents was applied over the sentiment to emphasise.
I was really chuffed with the final piece. I hope that you
like it too.
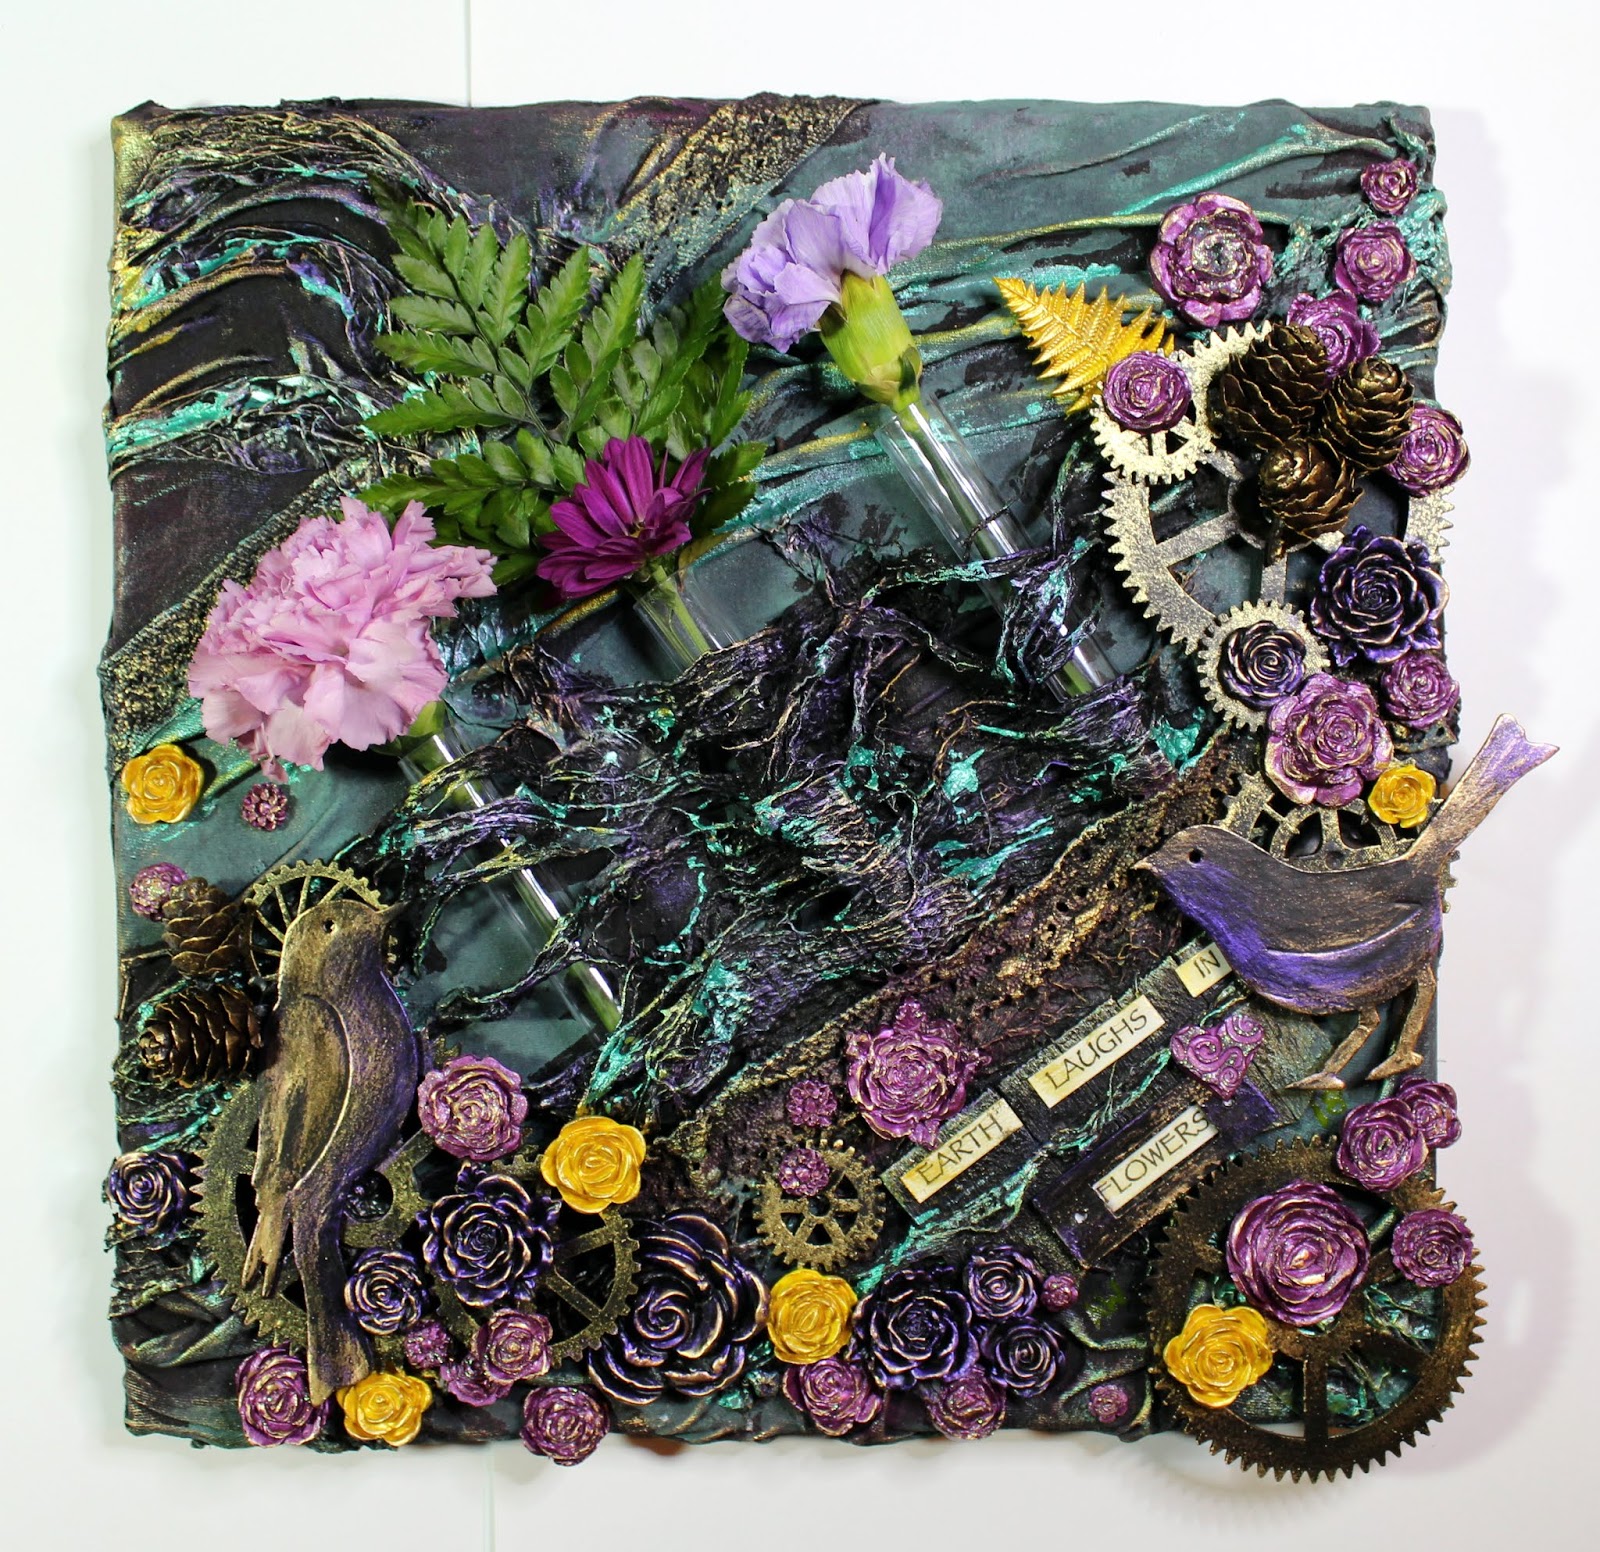
The great thing about this canvas is that the faux flowers
can be removed and replaced with real ones (the tubes are removable and can be
filled with a little water). I was initially planning to hang the canvas at an
angle but I rather like this orientation with the flowers going at 45 degrees.

Well that’s all for today. Back with more creations soon,
Anne x.

No comments:
Post a Comment